Ubuntu NXLog ile Gelf Formatında Log Gönderme
Selamlar arkadaşlar bu makalemde sizlere Ubuntu 20.04 içerisinde kurduğumuz NXLog programından GELF formatındaki log datalarını GrayLog serverımıza gönderme işlemlerini anlatıyor olacağım.
Ubuntu üzerinde NXLog kurulumu :
Aşağıdaki kodlar ile NXLog’u Ubuntu cihazımıza yüklüyoruz.
> sudo su
> apt update
> wget https://nxlog.co/system/files/products/files/348/nxlog-ce_2.11.2190_ubuntu_focal_amd64.deb
> apt install ./nxlog-ce_2.11.2190_ubuntu_focal_amd64.deb
> mkdir -p /etc/nxlog/{cache_dir,spool_dir}
> cp /etc/nxlog/nxlog.conf /etc/nxlog/nxlog.conf.orginal
> rm -r /etc/nxlog/nxlog.conf
> nano /etc/nxlog/nxlog.conf
Daha sonra Conf dosyamız içerisinde aşağıdaki satırları ekliyoruz.
# Set the NXLog main directory
define ROOT /etc/nxlog
# Global Directives
Moduledir /usr/lib/nxlog/modules
CacheDir %ROOT%/cache_dir
SpoolDir %ROOT%/spool_dir
Pidfile /tmp/nxlog.pid
LogFile /var/log/nxlog/nxlog.log
# Define Input Modules
<Extension gelf>
    Module      xm_gelf
</Extension>
<Input in1>
    Module      im_file
    File        "/var/log/auth.log"
    SavePos TRUE
    ReadFromLast TRUE
</Input>
<Input in2>
    Module      im_file
    File        "/var/log/syslog"
    SavePos TRUE
    ReadFromLast TRUE
</Input>
#Define Processor Modules
<Processor buffer>
   Module      pm_buffer
   MaxSize      512000   # Buffer logs upto 512MB
   Type disk   # Disk buffering
</Processor>
# Define Output Modules
<Output udp>
    Module      om_udp
    Host        192.168.1.114
    Port        3514
    OutputType  GELF
</Output>
# Route Definition
<Route 1>
    Path      in1,in2 => buffer => udp
</Route>
> systemctl enable nxlog
> systemctl restart nxlog
> systemctl status nxlog
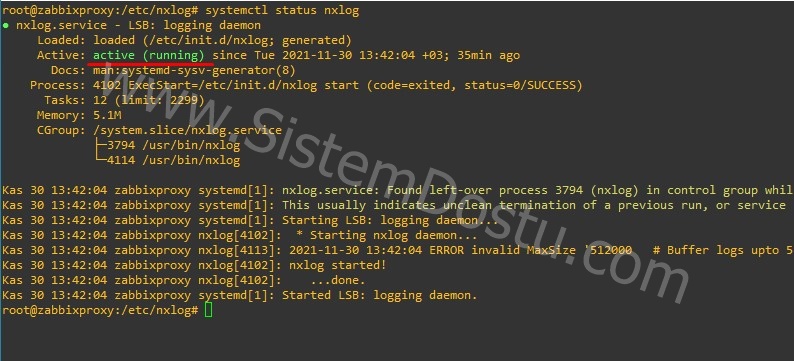
NXLog kurulumu ve ayarlamaları tamamlanmıştır. Çalışır durumda log yollamak için hazır.
GrayLog üzerinde Input Ayarlamaları :
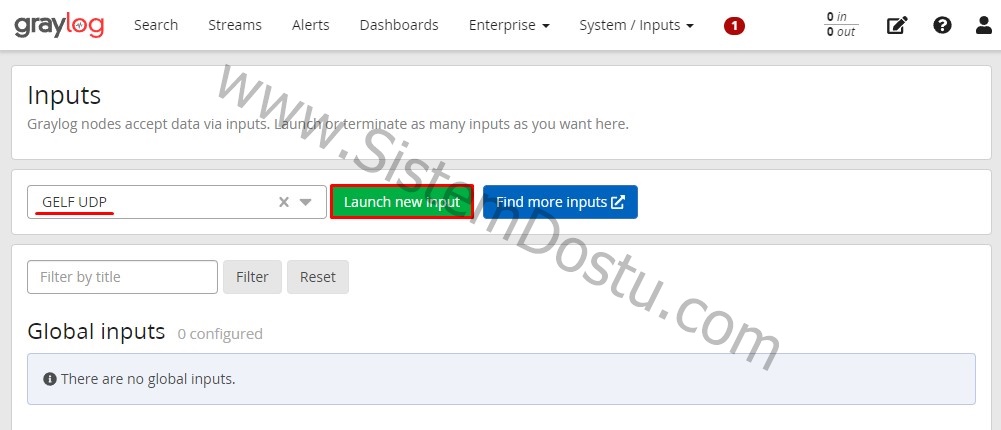
Graylog arayüzüne gidiyoruz ve System > Input yolunu izliyoruz. GELF UDP seçiyoruz ve Launch New Input seçeneğine tıklıyoruz.
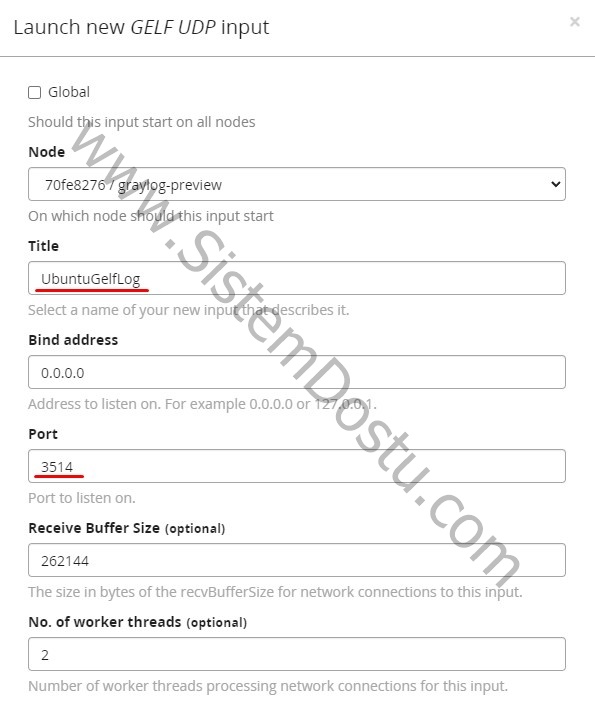
Daha sonra açılan pencerede Title belirliyoruz ve Port alanına Conf. Dosyası içerisinde yazdığımız port numarasını yazıyoruz ve Save tuşu ile kayıt ediyoruz.
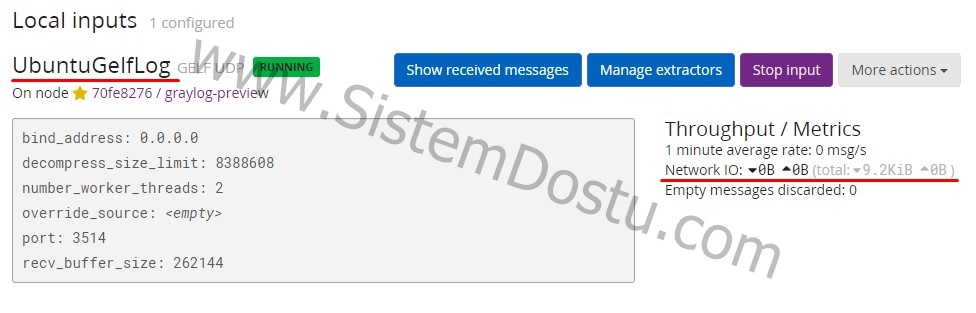
Oluşturulan Input içerisine logların geldiğini görebilirsiniz.
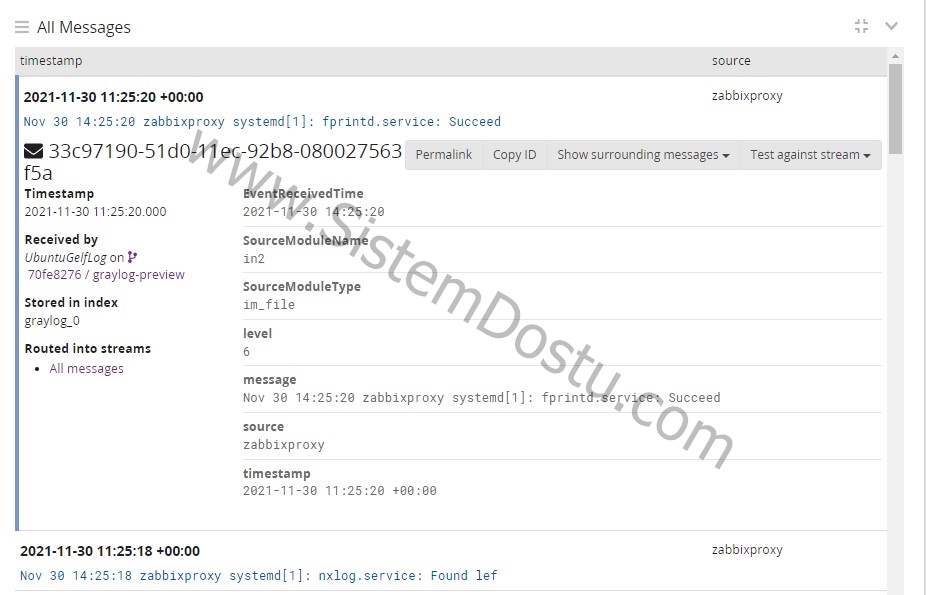
Logların ayrıntısını görerek düzenli logların düştüğünü görebilirsiniz.
Bu makalemde bu kadar arkadaşlar. Umarım yararlı bir içerik olmuştur. Kolaylıklar dilerim.
yunus
merhaba
Semih
Merhaba 🙂
cafer sütçü
hocam merhaba 😀
Semih
Merhaba.